Ultimate workshop facilitation guide - on-site workshops
In the previous article I covered different aspects of planning and executing a workshop. In this article I will focus on on-site workshops.
On-site workshops offer distinct opportunities and challenges compared to their online counterparts. Engaging with participants in a physical location necessitates unique preparation and setup, as well as considerations for tooling and technology.
Preparation
When organizing an on-site workshop you need to consider the physical location and room set up. Make sure to arrive on time to set everything up and prepare for any interactive sessions. Also, don’t forget to bring the materials and tools you’ll need.
Visit the location
To ensure a smooth and stress-free experience, I recommend familiarizing yourself with the workshop location in advance. By visiting the venue beforehand, you can become acquainted with the surroundings, find convenient parking options, identify the correct entrance, and navigate to the designated room. Details that can be included in the pre-event communication sent to participants.
Things to check when you visit the location:
- Equipment
- Bring your laptop and test the screen/projector.
- Are there sufficient whiteboards and flip charts? And pens? Pens that work?
- Are there wall space for post-its and posters, and is it ok to put things up on the walls?
- Availability of power outlets and extension cords.
- Room layout
- Are there enough chairs and tables?
- Is it possible and ok to re-arrange tables and chairs?
- Is there enough space for activities?
Room layout
The layout of the room is crucial for the success of the workshop. If you plan to do interactive sessions or breakout groups, you want to arrange the room to facilitate that. Place tables and chairs in a manner that allows participants to maintain visibility of the screen without having to turn their backs completely.

Refreshments
You want to make sure that there are refreshments during the workshop and at breaks. Make sure to check with the venue or client if they provide refreshments or if you need to bring it.
Don’t forget about yourselfI always make sure to bring a bottle of water and cough drops for myself in case my throat gets dry.
Setting the Stage
Setting the stage is similar for both on-site and virtual workshops, but you want to pay extra attention to a few things.
In the introduction in addition to the usual things you might want to cover things like where the bathrooms are, where to get coffee, and other practical things.
No electronicsI highly recommend to avoid laptops and smartphones in on-site workshops as much as possible. Instead, offer low tech alternatives for taking notes and activities, bring printouts, and share material afterwards. You want to remind people of this at the start of the workshop. Also, it is easier to enforce this if you have sent out ground rules in advance.
Arrive early
Arriving early is extra important for an on-site workshop. You want to make sure that everything is in order and works as expected. For example that the room is set up as agreed and that technology still works.
If you need time to set up and prepare activities, you want to make sure that you have time for that before participants arrive. I usually prepare flip charts with drawings etc. to not lose momentum during the workshop.
Leave a page blankYou can leave the first page of a flip chart blank (or write your name and welcome on it) and reveal prepared material as needed to not spoil activities or draw attention away from what you are doing at the moment.
You might also want time to grab a cup of coffee and visit the bathroom before participants arrive.
Name tagsIf participants don’t know each other, name tags or impromptu name plates on the table can be a good idea. If people arrive gradually, introduce yourself as they show up and ask them to create a name plate while waiting for others.
Check-in activities
A lot of check-in activities work well both on-site and online. The big difference is materials. For on-site workshops keep things as low tech as possible. Most of the times this means flip charts, post-its, pens and paper.
For example, the check-in activity described in the previous article works perfect for this.
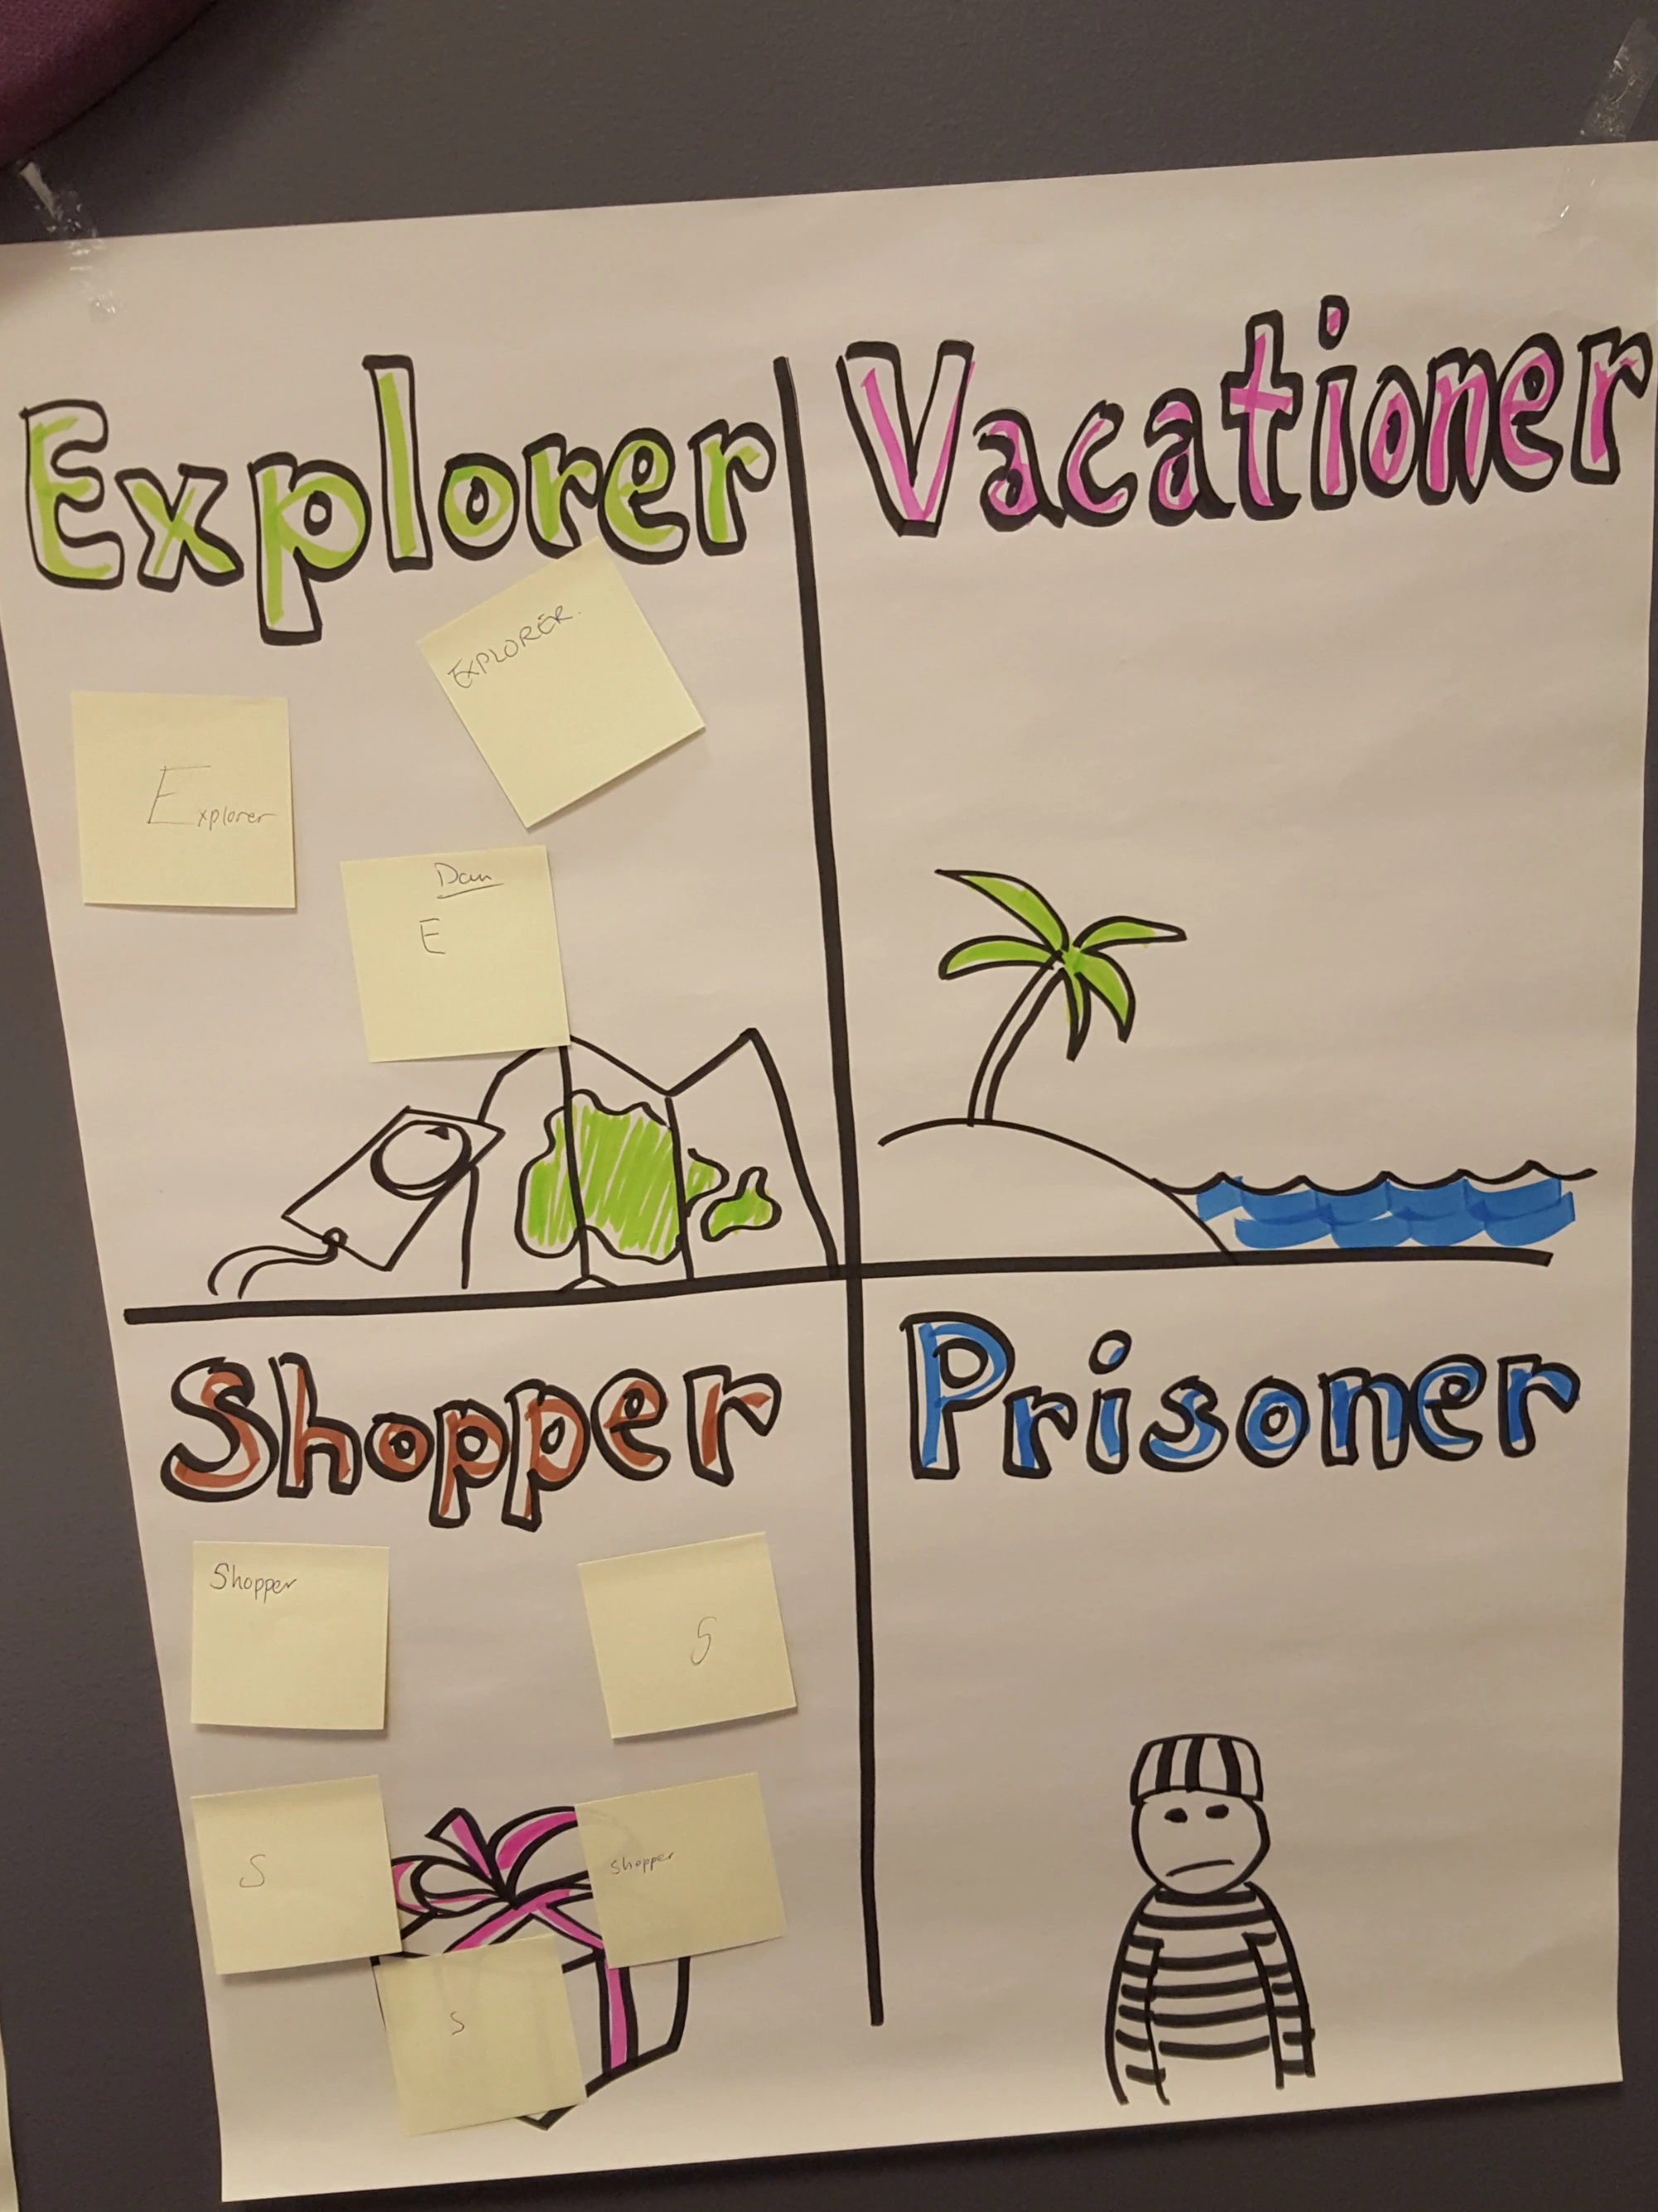
The image above is from a workshop where I used the ESVP check-in exercise. ESVP stands for Explorer, Shopper, Vacationer, Prisoner. Everyone picks a letter that best describes their expectations for the workshop. You can collect post-its anonymously. This is a good exercise to gauge the expectations of participants, and you can read more about it here: ESVP
Take photosThroughout the workshop, take photos of the activities and posters. It’s nice to share with participants afterwards, and to use as reference material for yourself or when writing blog posts 😎. Remember to ask for permission before taking photos of people or possible sensitive information.
How to dress
How you dress depends on the context and audience, but also on your own preferences and the role and atmosphere you want to convey. Whatever you choose, make sure you feel comfortable. If you tend to sweat when you are nervous or adrenaline kicks in, avoid wearing a shirt that shows sweat stains or wear a sweater or hoodie on top. Wear comfortable shoes as you will be standing and walking around a lot.
Interactive sessions
For a longer workshop (read: longer than 1-2 hours) include interactive sessions. This can be as simple as discussions in breakout groups to more advanced activities like simulations and role plays.
Plenty of good ideas for interactive sessions can be found online, for example:
- Gamestorming: gamestorming.com
- Tasty cupcakes: www.tastycupcakes.org
There are also sites focusing on retrospectives but many of the activities here can be used in other contexts as well:
- Fun retrospectives: funretrospectives.com
- Retromat: retromat.org
Tools and material
For an on-site workshop you need to bring the tools and materials you need.
Pens
If you are going to host many workshops, it’s worth investing in some good pens. I like the Neuland BigOne for drawing and writing on flip charts.
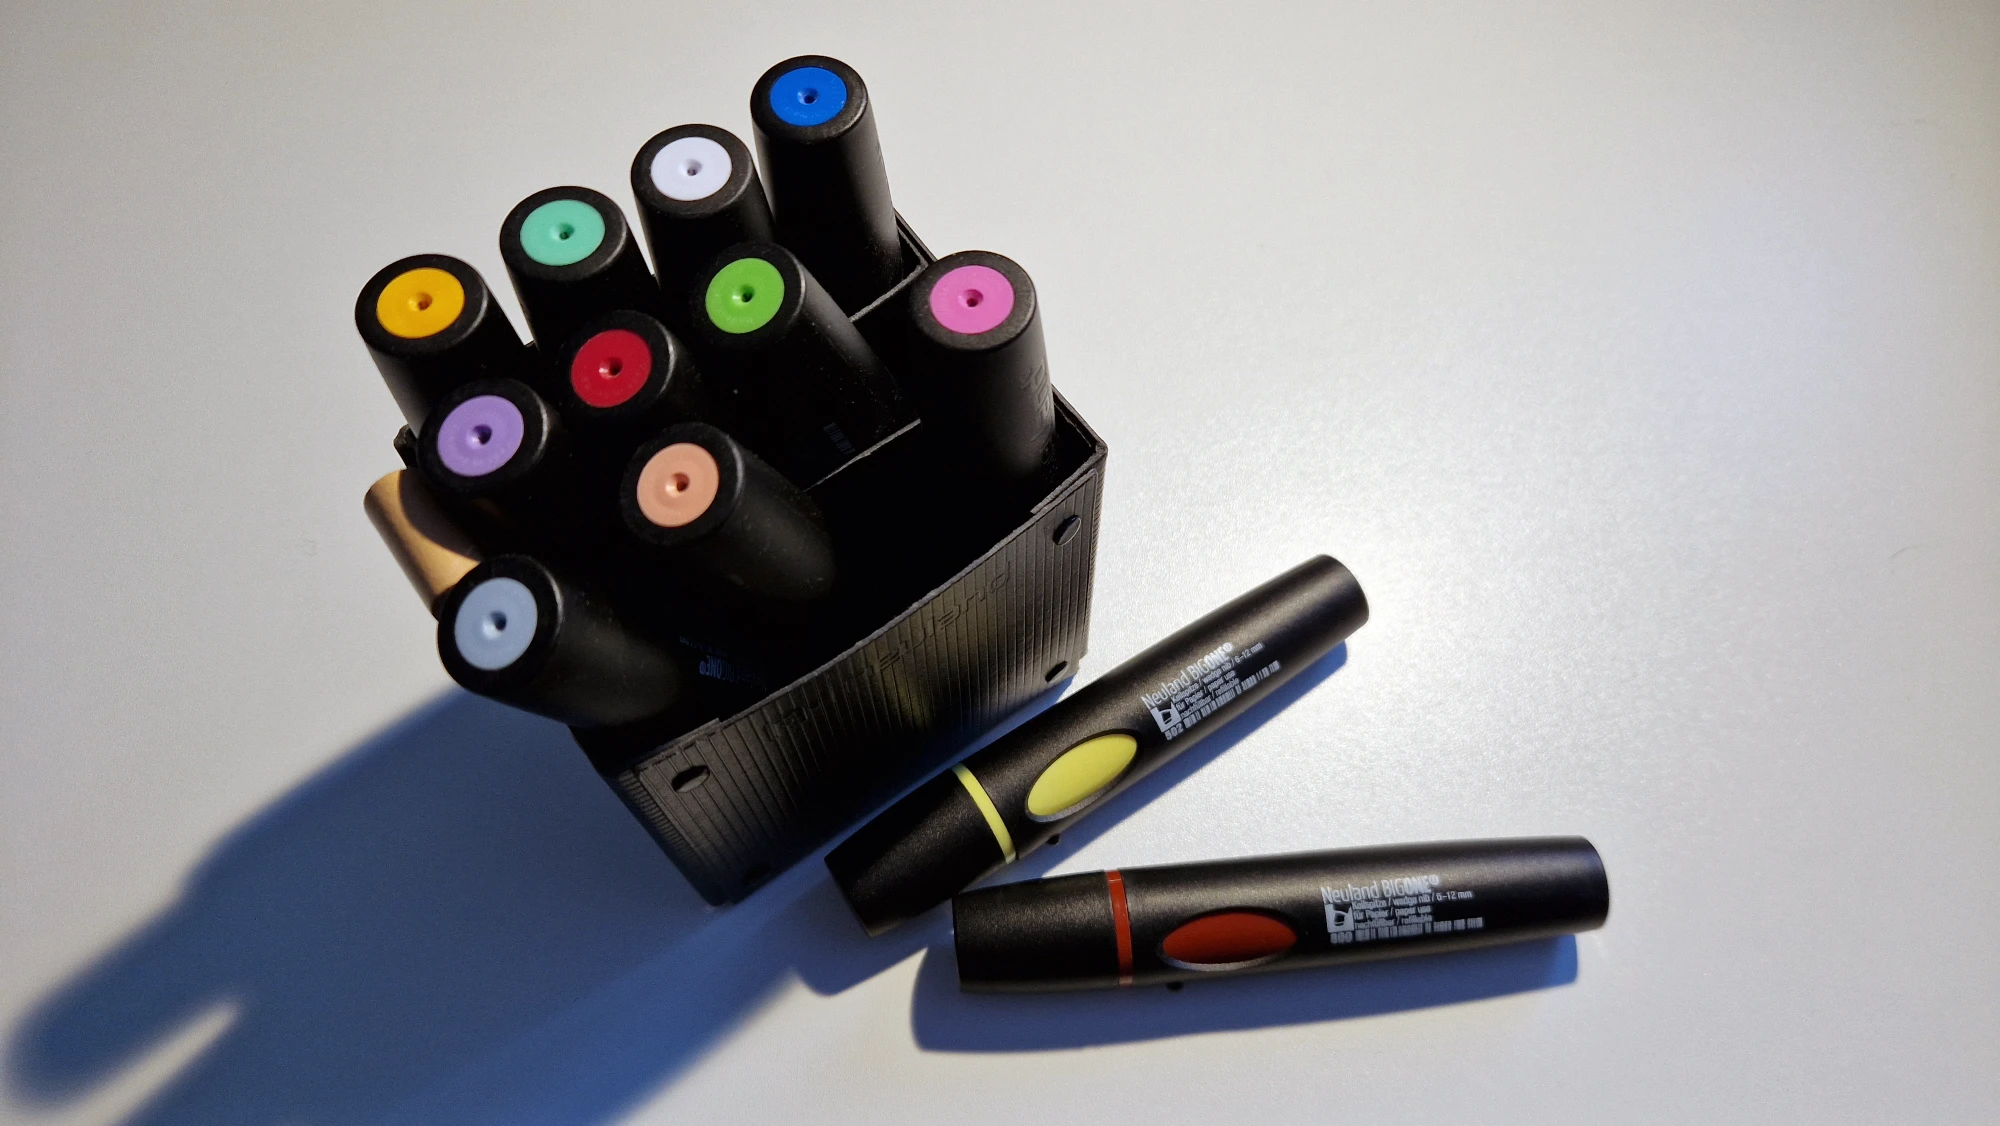
Sharpies or whiteboard pens work well for writing on post-its. I ask people to use these over regular pens or pencils. It makes the post-its easier to read from a distance and when taking photos. (See the ESVP photo above for an example of not following this advice 😅)
Presentation remote
A presentation remote is an essential tool for on-site workshops and presentations. It allows for seamless movement and timing while speaking to your slides, enhancing the overall delivery and engagement with the audience.
Borrow a presentation remoteIf you don’t have your own presenter, ask around. Maybe your company has one you can borrow. If you present at a conference, ask the event organizers if they have one you can use.
Facilitator toolbox
I have a small toolbox with the things I need for facilitating workshops. I bring it with me to every workshop. It doesn’t have to be fancy. Mine include the following:
- Some post-its pads
- Extra pens
- Tape
- Scissors
- Material for activities I do often
You can buy ready-made facilitator toolboxes, but they can be quite expensive. A DIY toolbox works just fine, and can be customized to your needs.
To keep my DIY toolbox organized and portable, I utilize an electronics travel organizer as a carrying case. There are various options available in the market that serve this purpose effectively. Many options can be found on amazon.com and other online stores.
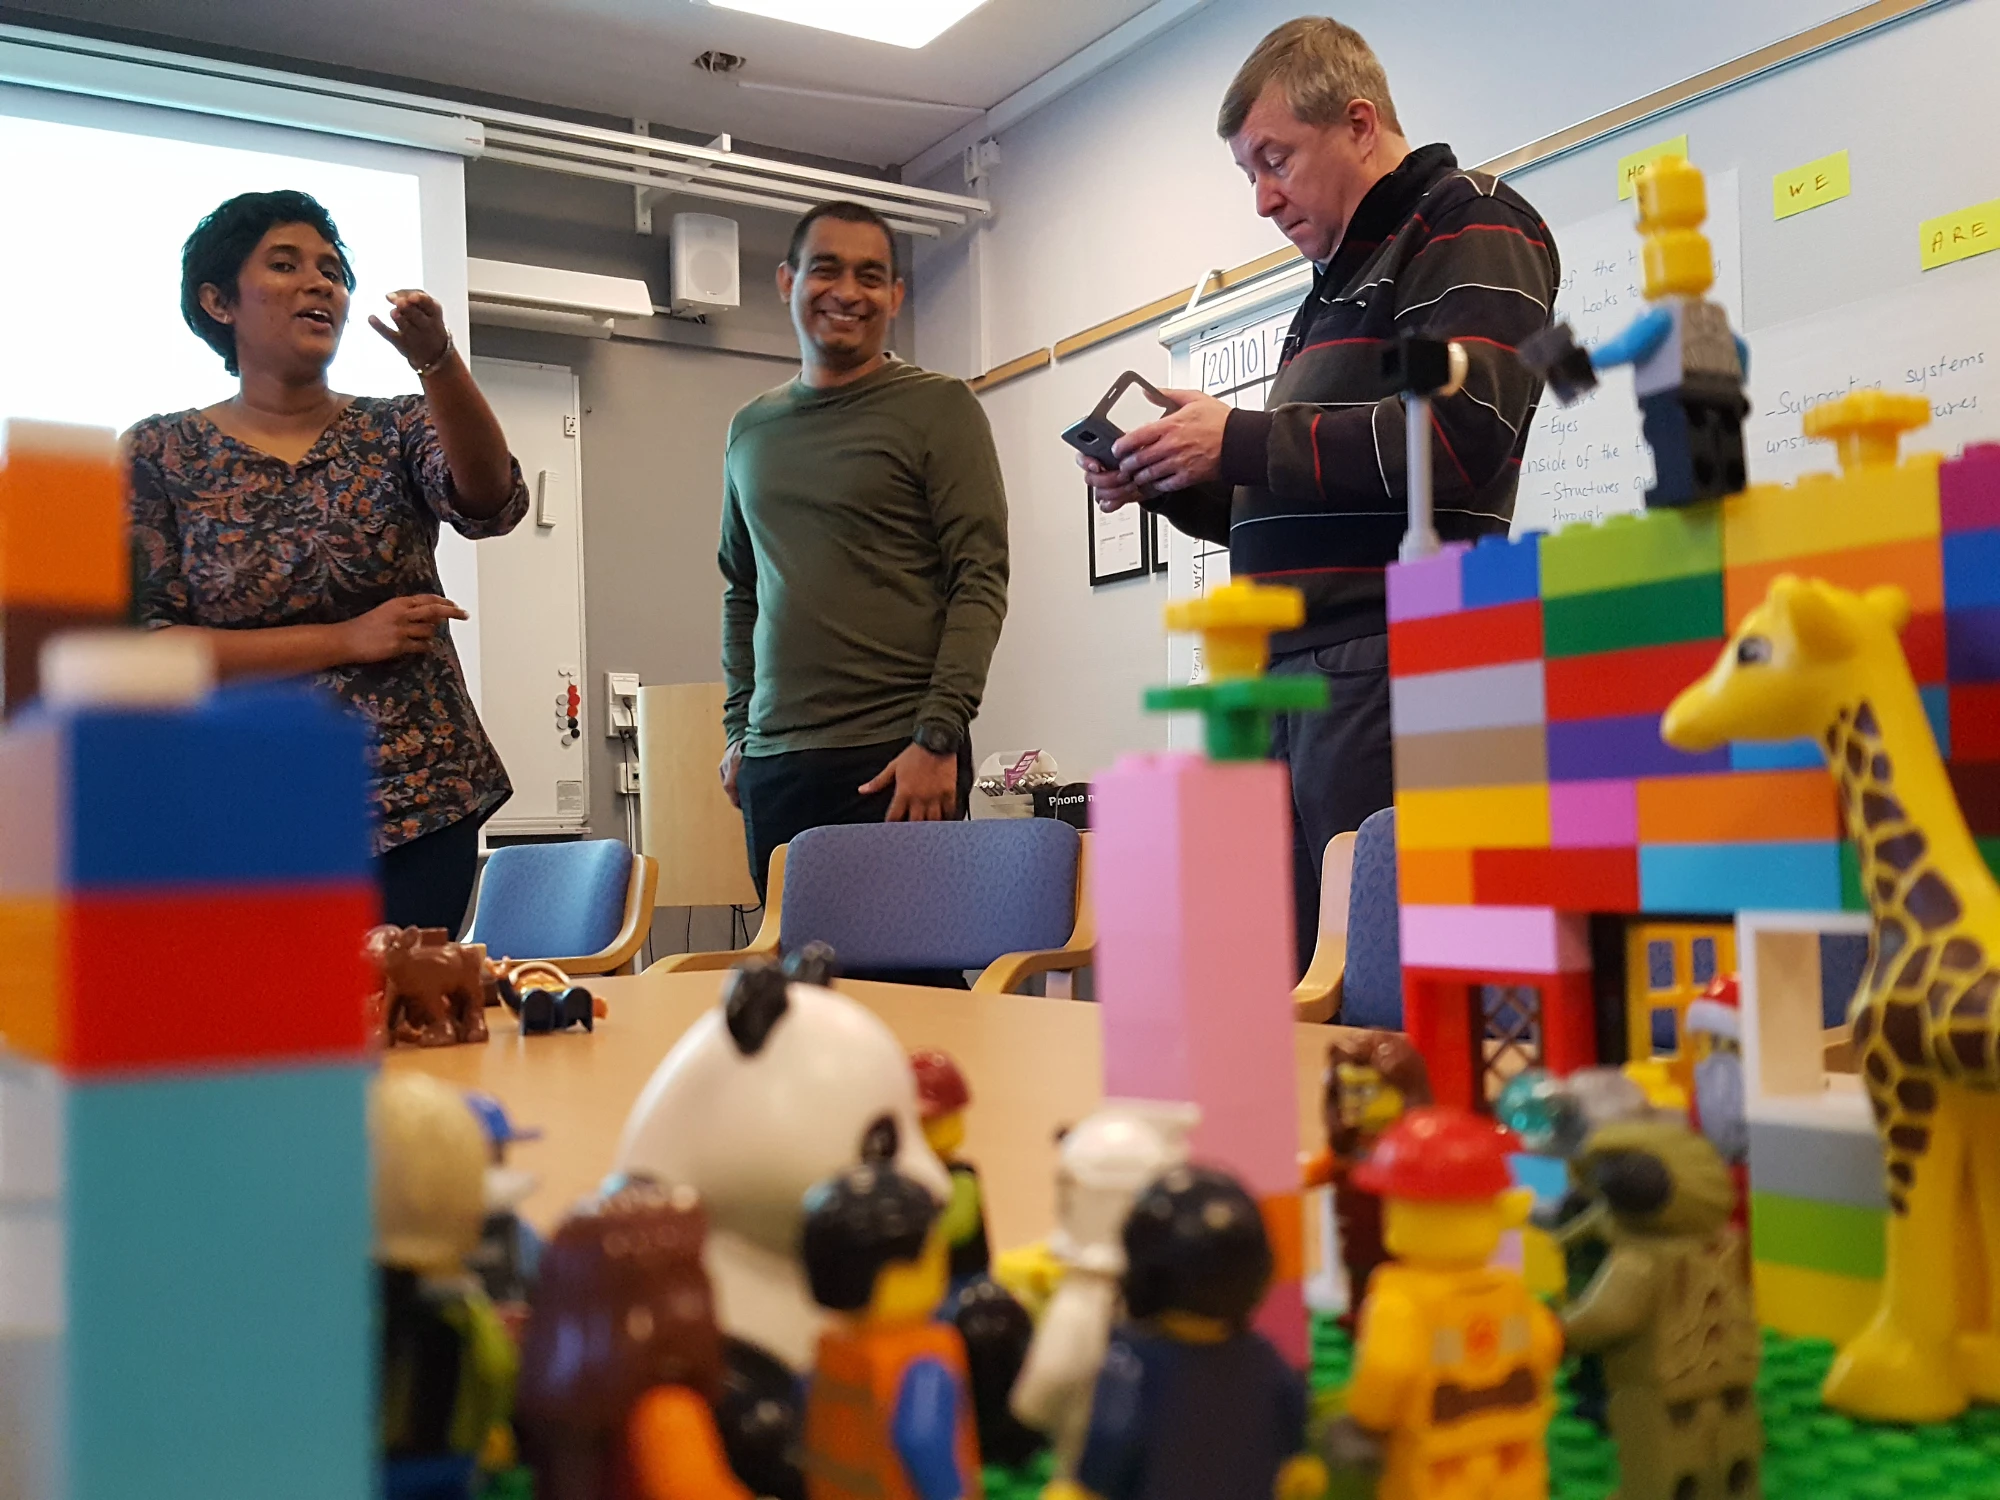
Lego
Lego is a great way to get creative and I have used it successfully in several workshops. For example to simulate sprints in Scrum and to help visualize the current and desired ways of working.
There are good generic Lego sets available. Combine them with a few extra sets containing minifigures, and plates to build on. Together with colored papers, pens, scissors and tape, you can create almost anything.

Online tools
The online tools I use for on-site workshops are usually ones to help with time management and randomization (see links below). You can also use online survey tools for anonymous surveys.
The general rule, however, is to keep things as low tech as possible.
Parting words
When preparing to host your first on-site workshop, invest time in careful planning and preparation. By creating a comfortable and interactive environment for participants, and remaining open to adapting your approach based on their needs, I am sure you will do great.
Once the workshop concludes, take a moment to relax and unwind. Treat yourself to a well-deserved cold drink, kick off your shoes, and put your feet up.
